
After flying my ZMR 250 around for a while, I felt like I was progressing in skill flying FPV. The more risks I took with flying, the more components started to break. I don’t know if it was because I didn’t really know what I was doing when I was building my first quad or what, but I was constantly having to come home to fix some broken soldering joint, torn wire, or order a new part.
I decided to look for a new frame, that would let me keep most of the components concealed inside for (what I would hope would be) better durability. I was browsing rcgroups and came across a new frame being released by RMRC. The Mudskipper 250. The kits are no longer available because I believe the ready to fly versions have been discontinued. I ordered just the frame kit, with a basic PDB.
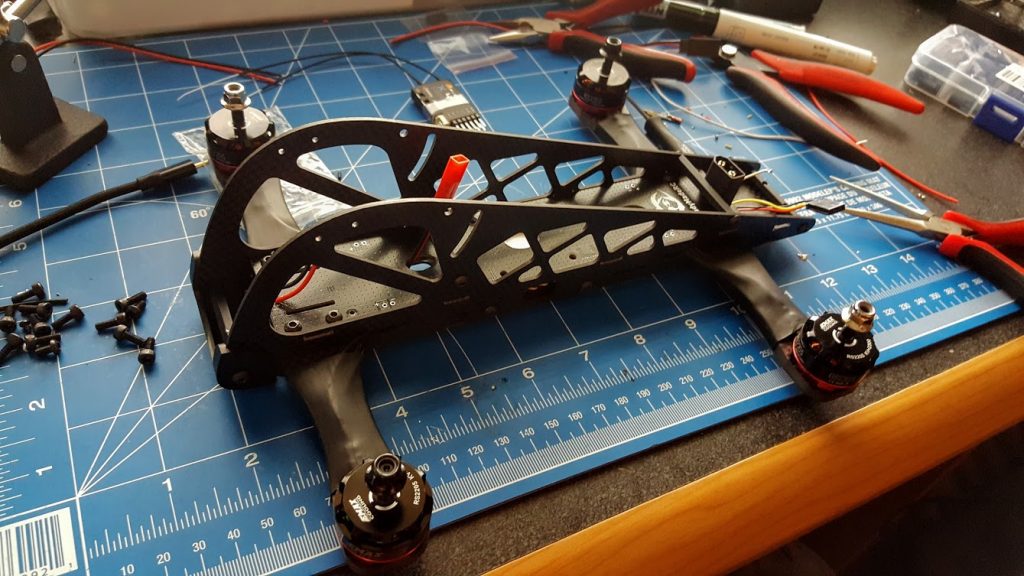
Since I wanted to keep my ZMR 250 still flyable, I ordered some new components. I cannibalized the FPV camera and video transmitter from the ZMR, but ordered some new DYS XM20A ESCs, the new Emax RS2205 2300kv motors, another RMRC Dodo Flight Controller, and a new GoPro Hero 4 Session to be able to mount on the thinner HD camera mount on the mudskipper. The video and sound quality of the gopro blows away the xiaomi yi’s.
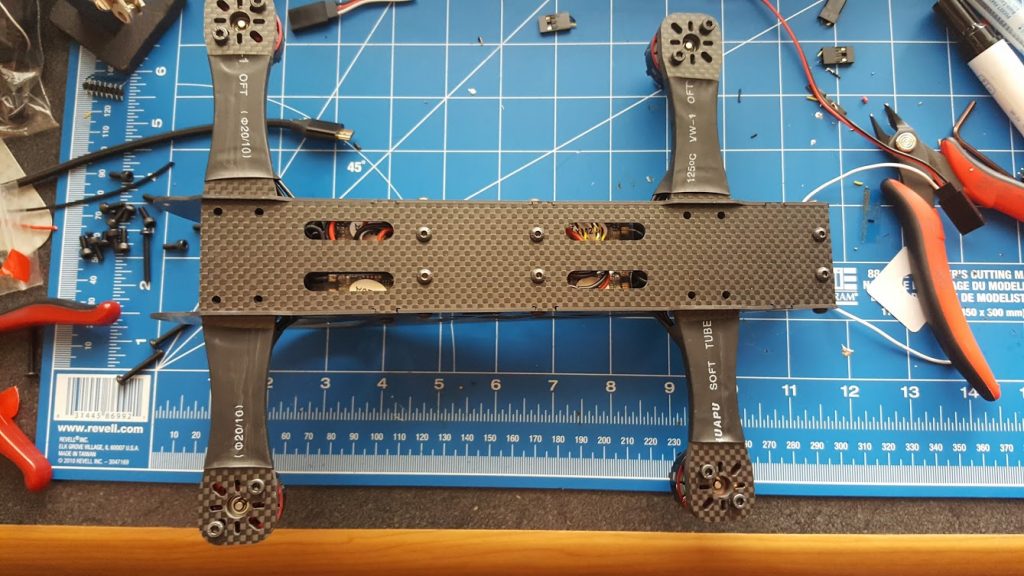
Once the kit arrived I started laying everything out trying to figure out how I was going to fit everything inside.

I soldered the ESCs to the motors, leaving all the slack in the leads so I could place the ESCs inside the body of the frame. I got the PDB installed and then soldered the ESCs to the PDB and started working on the flight controller connections.

This frame is different in that there are no standoffs holding the flight controller in place. Instead it gets stuck to the frame using double sided foam tape. I was skeptical, but it held up pretty good.
Some of my flush cut through hole soldering. There was no room for pins on this flight controller, so everything had to be direct soldered. Not too bad I’d say.

One I got the flight controller mounted to the frame, I had to tuck and route all the wires into frame cavity. It was a tight fit, but everything managed to fit.

And with the bottom plate attached
There; now all my components were safely inside the frame, protected from damage – or so I thought. One thing I noticed this far into the build is that this frame is heavy. It seemed much heavier than the ZMR, and I still don’t have everything installed. Pigtails seen here sticking out for the receiver, buzzer and FPV transmitter.
I ordered a receiver mounting plate off of great 3d, and stuck it to the back of the frame. I mounted all the FPV gear in the front of the frame. There is a FPV antenna holder on the HD camera mount, so it seemed logical for everything to sit up front.

I thought the frame was looking pretty good right now.
Ready for first flight. Damn this thing is really heavy now. I’m still flying 3S batteries. I could have probably been better off with 4S for this frame.

—
And a few minutes later…. Boom.

Nothing in this hobby ever seems to be easy. I fell out of the sky directly on to the Gopro, which pretty much destroyed the HD and FPV camera mount. This frame seems to just fall at little to no throttle – which was quite different from the ZMR I had. I had to order new parts to even be able to get back in the air here. That is one of the downsides of this frame – all the parts are unique.

Once I got the spares I needed I was back in the air flying. Again I fell out of the sky on to a parking lot and completely destroyed the receiver and the back of the frame.

Time to use some ingenuity and figure out how to salvage the frame now.
After some toying around, I decided to move the receiver up front and completely chop off the tail of the frame. This made things pretty tight up front, but overall I think I’m pleased with how it turned out…

Cut and sanded the carbon fiber tail.

Ready for the skies again!

At home in the wild.
